For your venture into Blackrock Depths during WoW’s Anniversary, you’ll tackle various bosses, each with unique challenges. Start with High Interrogator Gerstahn, vulnerable to burst damage, then face Lord Roccor, where positioning is key due to his AoE abilities. Manage Houndmaster Grebmar by controlling his packs and focus on crowd control. In the Ring of Law, you’ll encounter Theldren; maintain central positioning for effective combat. Tackle Pyromancer Loregrain with fire-resistant gear, handle Stilgiss and Verek together strategically, and keep mobile against Fineous Darkvire to mitigate his Holy magic. Big fights like Bael’Gar and Emperor Thaurissan demand great interrupts and cooldown management. Mastering these strategies guarantees you’re well-equipped for success in these epic confrontations.
Key Takeaways
- High Interrogator Gerstahn employs shadow damage and mind control; counter with burst damage and strategic positioning.
- Lord Roccor requires careful positioning and awareness of his enrage phase to mitigate AoE damage.
- Manage Houndmaster Grebmar by controlling his hound packs and isolating him for efficient targeting.
- Pyromancer Loregrain focuses on fire attacks; wearing fire-resistant gear and spreading out reduces group damage.
- Emperor Dagran Thaurissan’s fight involves managing both him and his guards, focusing on interrupting his powerful spells.
High Interrogator Gerstahn
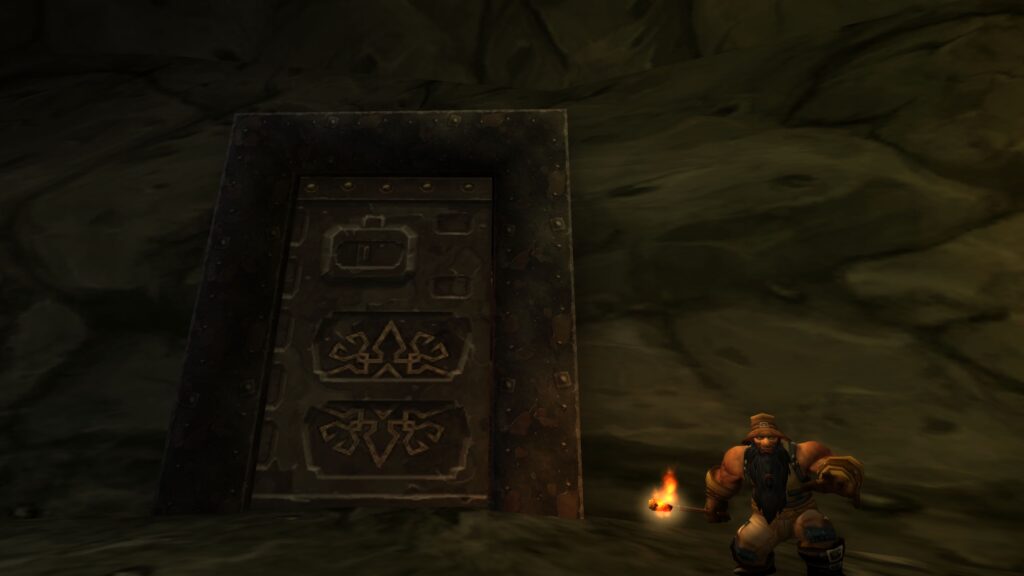
Maneuvering the shadowy corridors of Blackrock Depths, you’ll soon encounter High Interrogator Gerstahn, a formidable boss known for her ruthlessness and strategic prowess. Understanding Gerstahn’s role is essential; she’s the chief torturer within the depths, tasked with extracting information from prisoners for the Dark Iron dwarves. Her history as a loyal servant of Emperor Dagran Thaurissan has made her feared and respected throughout the dungeon.
When you face Gerstahn, you’ll need to be wary of her mechanics. She employs a combination of shadow damage spells and mind control techniques that can disrupt even the most seasoned groups. To counter these, exploiting Gerstahn’s weaknesses is key. She’s particularly susceptible to high burst damage and stuns, which can interrupt her devastating spell casts.
Developing a solid strategy involves positioning your group to minimize the impact of her area-of-effect attacks and keeping control of any mind-controlled allies. Prioritize DPS on Gerstahn while managing the adds she summons during the fight.
Gerstahn’s loot is highly sought after, including items like the Intricately Runed Shield and the Robes of the Royal Crown, which are valuable for various classes. Successfully defeating her not only progresses your quest through Blackrock Depths but also equips you better for future challenges.
Lord Roccor Encounter
As you approach the Lord Roccor encounter in Blackrock Depths, it’s essential to understand his unique abilities, which will greatly affect your battle strategy.
You’ll need to develop a tailored approach to overcome this formidable foe, taking into account the specific mechanics of the fight.
Additionally, the loot drops from Roccor can be quite rewarding, so mastering this encounter could prove highly beneficial.
Lord Roccor Abilities Overview
In tackling Lord Roccor, it’s important to understand his unique abilities, as they can quickly turn the tide of the battle.
As a storied figure in Blackrock Depths, his powers reflect his fiery and tumultuous origins deeply embedded in Roccor’s lore and history.
Here’s a breakdown of his key abilities:
- Earth Shock: Sends a jolt of fear through your heart as Roccor releases a powerful shockwave, dealing significant damage to anyone in melee range.
- Flame Shock: This ability not only burns your spirit but also leaves a lingering effect that damages over time, representing the unrelenting fire of the depths from which Roccor hails.
- Ground Tremor: It’s like the earth beneath your feet rebels against you; this ability stuns all nearby players, disrupting strategies and sowing chaos.
- Summon Rocklings: Roccor calls forth minions from the very stone of Blackrock Depths, a stark reminder of his unyielding command over the earth and its creatures.
Understanding these abilities won’t only prepare you for the encounter but also deepen your appreciation for the complex web of stories and power struggles within Blackrock Depths.
Be ready to face him, equipped with knowledge and strategy.
Strategy for Roccor Battle
To successfully defeat Lord Roccor, you’ll need a well-coordinated plan that utilizes both spatial awareness and timely execution.
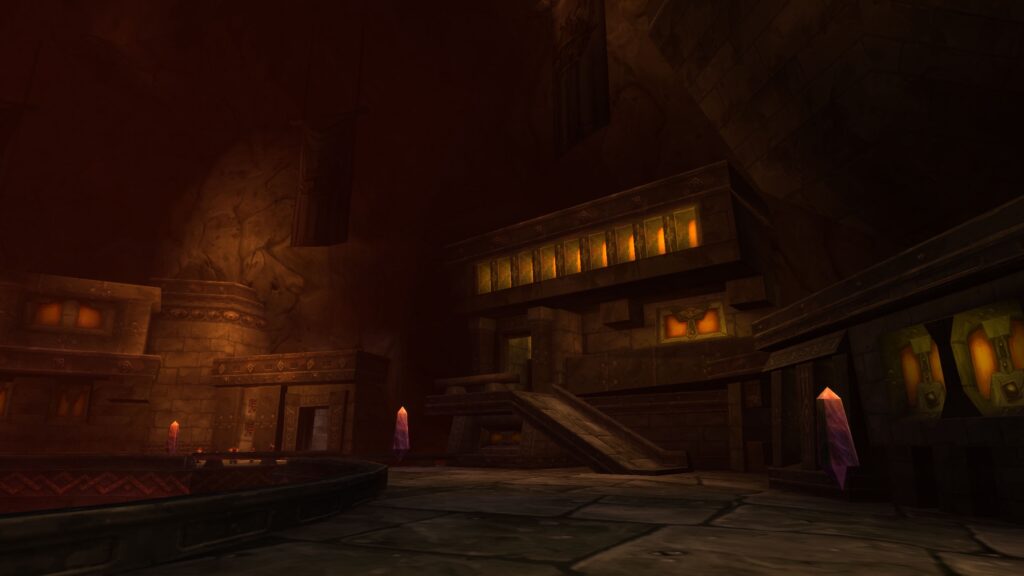
Start by understanding Roccor’s positioning. He patrols the hallway before the Ring of Law, so you have the opportunity to choose where to engage him. The ideal spot is a wide area where your group can spread out to minimize damage from his area-of-effect abilities.
Once engaged, keep Roccor away from the narrower parts of the hallway. This tactic not only prevents him from potentially pulling additional mobs but also gives your group more room to maneuver and dodge attacks.
Tanking Roccor effectively requires constant awareness and quick positioning to mitigate his damage output on melee players.
As the battle progresses, watch for Roccor’s enrage phase, which considerably increases his damage. This is where your group’s timing comes into critical play.
Healers need to be on high alert, ready to boost their healing output, while damage dealers should maximize their DPS to shorten this dangerous phase.
Utilizing stuns or slows can be invaluable here to control the fight pace and guarantee a smooth takedown of Roccor before his enrage overwhelms your party.
Loot Drops From Roccor
Several sought-after items can drop from Lord Roccor, enhancing your character’s performance in various roles.
As you strategize for the Roccor encounter, it’s essential to know the potential rewards that make the battle worth your while.
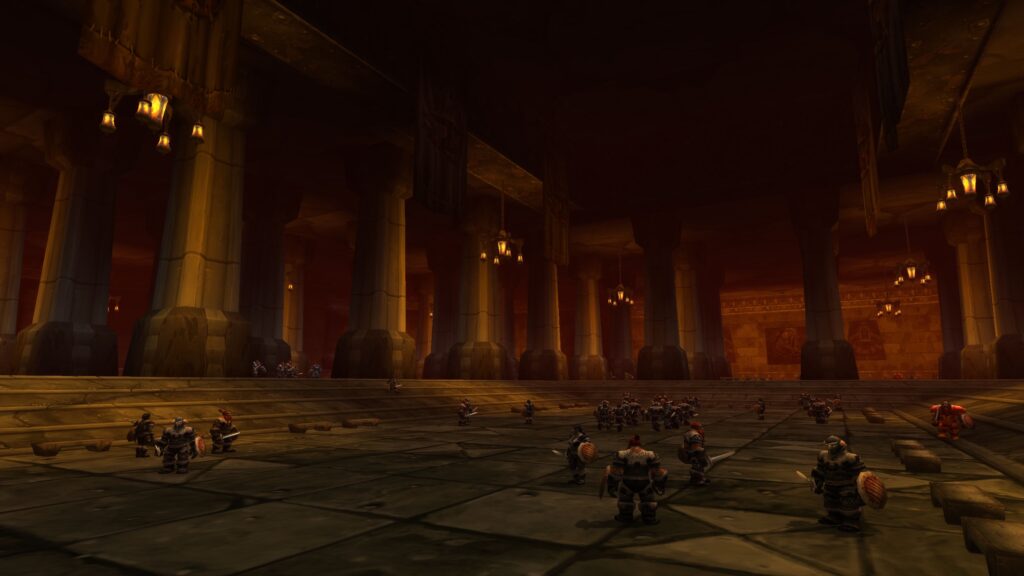
Here’s a detailed look at the Roccor loot you might score:
- Rockshard Pauldrons: These rare shoulder guards provide an impressive boost to your armor, making you feel nearly invincible against physical attacks.
- Stoneslayer: This massive two-handed sword not only devastates your enemies but also instills a sense of awe and might in anyone who wields it.
- Earthborn Kilt: Ideal for spellcasters, this kilt greatly enhances mana regeneration, allowing you to cast spells more frequently.
- Quicksilver Ring: A favorite among rogues and hunters, this ring increases agility and speed, giving you the edge in dodging attacks and executing quick strikes.
Houndmaster Grebmar Battle
As you approach the Houndmaster Grebmar battle in Blackrock Depths, you’ll need to be wary of his patrol patterns; Grebmar roams with a pack of fierce hounds that can quickly overwhelm the unprepared.
To manage the hound packs effectively, it’s essential to isolate Grebmar from his pets, using crowd control tactics to handle the hounds separately. This strategy will minimize the damage your group takes and simplify the encounter.
Grebmar’s Patrol Patterns
Understanding Houndmaster Grebmar’s patrol patterns is essential for maneuvering through Blackrock Depths effectively. Noticing Grebmar’s movement can be the difference between a stealthy skip and an all-out brawl. His route is predictable once you’ve got the hang of it, but first, you need to grasp how he uses his keen senses for detection.
Grebmar patrols with a keen sense of awareness, making it critical to monitor his movements closely. Here are some key observations:
- Timing is Everything: Grebmar has specific timing intervals between each patrol loop. Learn these to time your movements.
- Watch Your Step: Grebmar’s ability to detect intruders is heightened. Moving too close can trigger an encounter.
- Use the Shadows: Utilize the natural cover of dungeon shadows to avoid detection.
- Plan Your Route: Know the layout of the area. Planning your path in advance minimizes the risk of stumbling into his patrol route.
Managing the Hound Packs
When you confront Houndmaster Grebmar, managing his hound packs is critical to securing victory. You’ll need effective hound pack strategies to handle the multiple hounds that accompany him. Start by focusing on pack control techniques. Area of effect (AoE) spells can be extremely effective here. Use them to weaken the packs before targeting individual hounds with single-target attacks.
It’s imperative you don’t get overwhelmed. Positioning is key; try to keep Grebmar separated from his hounds to reduce the damage your group takes. Utilize crowd control abilities like stuns and slows on the hounds, prioritizing those closest to breaking free from the control effects.
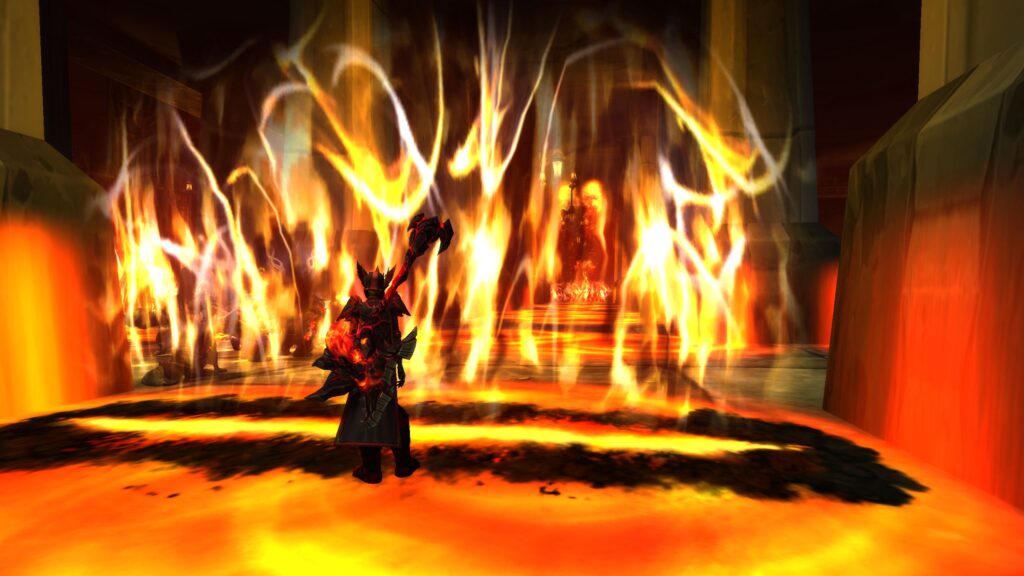
Remember, if you can control the pace at which the hounds are dealt with, you’ll have a significant advantage. Communication with your team is essential. Assign one member to keep track of hound health and call out when it’s time to switch focus.
Coordination guarantees that not too many hounds are loose at the same time, which can quickly lead to chaos. By keeping these strategies in mind and executing them proficiently, you’ll make sure your team remains standing long enough to take down Houndmaster Grebmar.
Theldren and Ring of Law
Once you enter the Ring of Law in Blackrock Depths, you’ll encounter Theldren and his gladiatorial minions. This battle is essential and requires understanding Theldren’s mechanics and positioning. As Theldren phases through the fight, he and his team display varied abilities that challenge your adaptive strategies.
Ring strategies are vital here. Theldren’s positioning near the center can minimize the area his team can control, forcing them into tighter clusters that are ideal for area-of-effect attacks. Timing your spells and abilities right after Theldren switches tactics can catch him off guard, enhancing your chances of a swift victory.
Theldren loot is remarkably rewarding, with items that are beneficial for multiple class builds. Efficiently defeating him can yield gear that greatly boosts your dungeon runs.
Here are some emotional highlights to reflect on:
- Anticipation: The thrill of decoding Theldren’s next move.
- Tension: Managing the chaos of multiple enemies.
- Triumph: Overcoming a tough adversary.
- Nostalgia: Reliving the classic lore of the Ring.
Pyromancer Loregrain Tactics
Pyromancer Loregrain awaits you deeper in Blackrock Depths, ready to release his fiery arsenal. As you approach this formidable foe, it’s essential to understand his pyromancer abilities to effectively counter his tactics. Loregrain specializes in fire damage, which means your preparation should focus on mitigating these effects.
Firstly, equip any fire-resistant gear you’ve collected. Fire resistance can drastically reduce the damage from his scorching attacks. He frequently casts Scorch, which inflicts significant fire damage and can stack a debuff that increases fire damage taken. Be ready to use any fire resistance spells or potions at your disposal.
Another key ability of Loregrain is the Molten Blast, a powerful explosion that targets a random player. Spread out to minimize the impact on the group if one of you is hit.
Communication is essential here; alert your team when you’re targeted so they can move away, minimizing collateral damage.
Warder Stilgiss Showdown
As you advance through the dark corridors of Blackrock Depths, you’ll encounter Warder Stilgiss, a formidable guardian whose mastery of frost magic contrasts sharply with the fiery assaults you’ve faced so far.
Stilgiss doesn’t fight alone; he’s backed by a loyal Frostwolf, Verek, adding an extra layer of challenge to the fight.
Understanding Stilgiss mechanics is essential for a successful showdown. He primarily uses frost-based spells to slow and damage his opponents, making mobility a key factor in this encounter.
Here’s a breakdown of Stilgiss strategy to help you triumph:
- Stay Mobile: Avoid Stilgiss’s Frost Nova by keeping on the move. His ability to freeze you in place can be deadly if you’re not careful.
- Interrupt Spells: Watch for his Frostbolt casts. Interrupting these can greatly reduce the incoming damage.
- Manage Adds: Verek can’t be ignored. Coordinate with your team to manage his threat while still focusing on Stilgiss.
- Use the Environment: Utilize the room’s layout to avoid being cornered or overwhelmed by frost attacks.
Successfully maneuvering through these challenges requires attention to detail and quick reflexes.
Prepare to adapt quickly to his icy tactics for a chance to advance further into the depths.
Fineous Darkvire Strategy
Maneuvering the labyrinthine halls of Blackrock Depths, you’ll soon confront Fineous Darkvire, the relentless chief architect of the city. Understanding Fineous Darkvire mechanics is essential for a successful engagement. He’s a formidable caster, primarily using Holy magic attacks, which can deal considerable damage if not properly managed.
For best Fineous Darkvire positioning, keep him at the center of the Hall of Crafting. This location minimizes his ability to gain advantageous positioning and limits his line of sight, vital for interrupting his spellcasting.
You’ll want to spread out your group to avoid his area-of-effect spell, Holy Nova, which he casts frequently. The tank should face him away from the rest of the party to mitigate the impact of his Holy Smite, a powerful attack directed at a single target.
Interrupting his spells is key. Assign one or two party members with quick interrupt abilities to focus solely on this task. This will greatly reduce the damage your group takes and make the fight more manageable.
Bael’Gar Confrontation
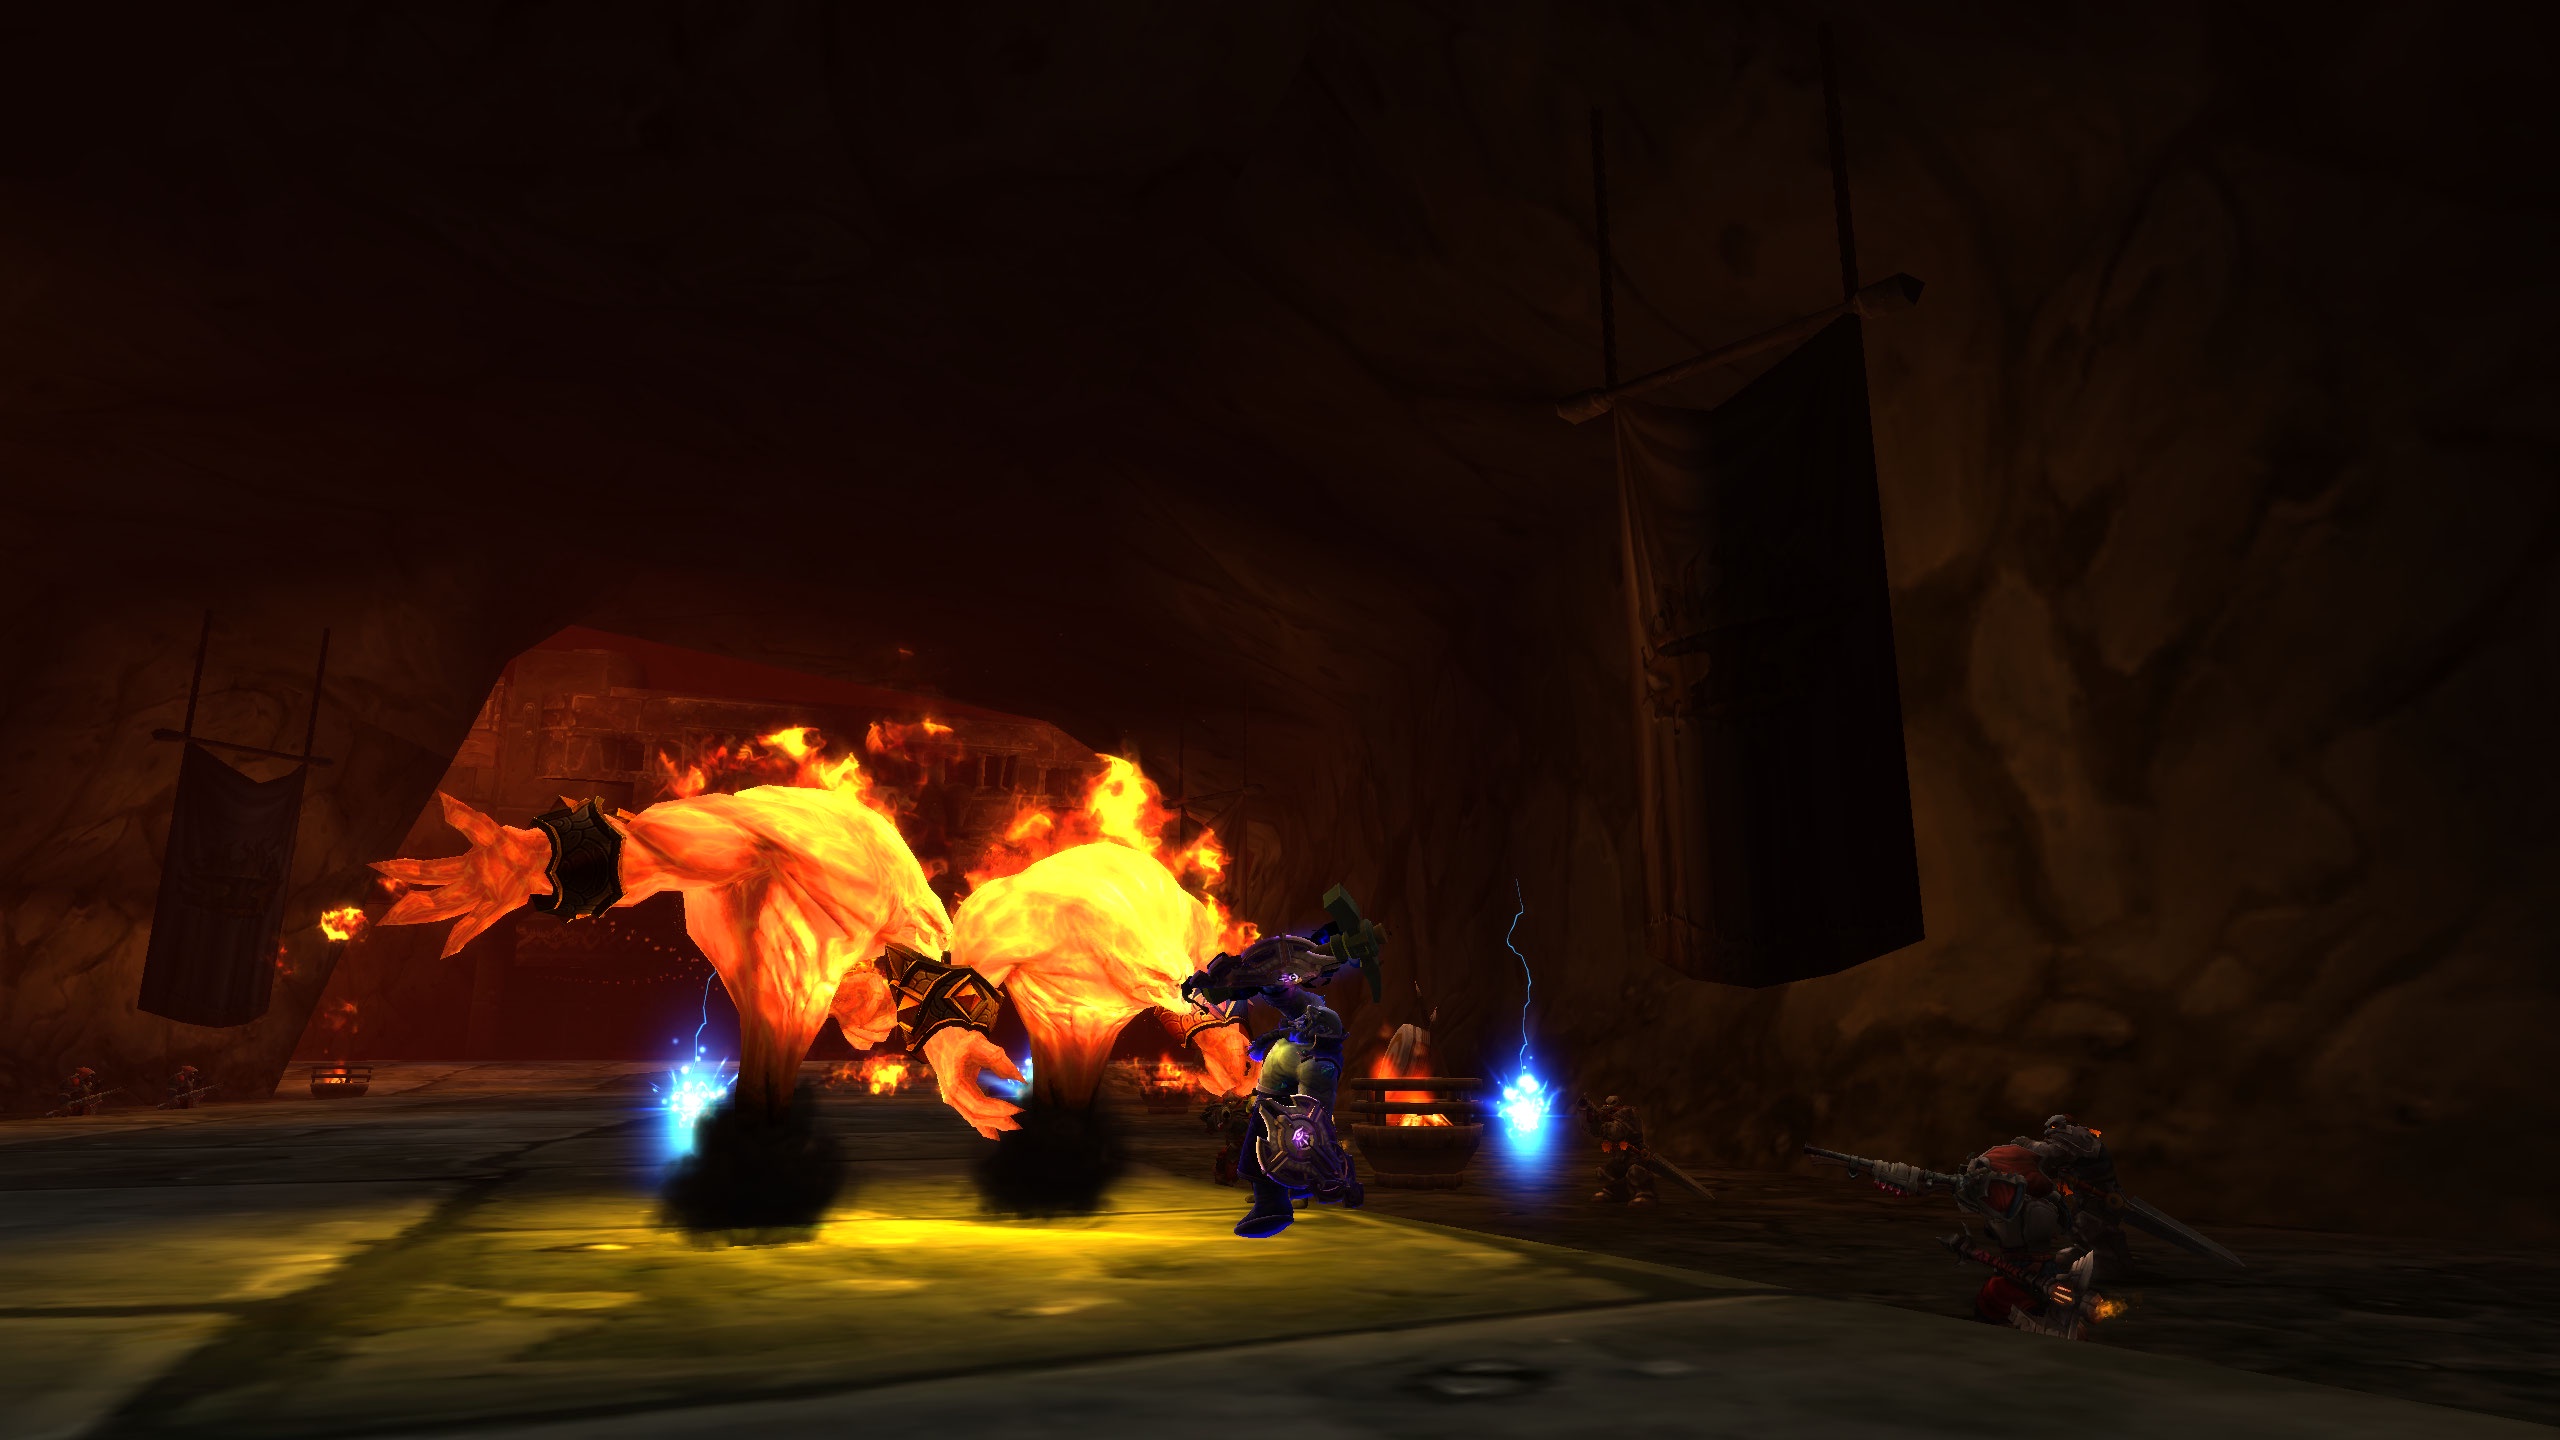
After defeating Fineous Darkvire, you’ll encounter the fiery guardian Bael’Gar in the next chamber of Blackrock Depths. This hulking elemental presents a unique challenge, and understanding the Bael’gar strategy is essential for a victorious battle. Armed with fiery attacks and the ability to summon minions, Bael’Gar requires both tactical awareness and resilience.
To effectively combat Bael’Gar, keep these key strategy points in mind:
- Positioning is essential: Keep Bael’Gar away from the group to minimize the damage from his area-of-effect attacks.
- Interrupt his spells: Particularly, watch for his Lava Burst, which can deal devastating damage if not interrupted.
- Manage adds efficiently: His summoned Lava Spawn can overwhelm if not dealt with swiftly.
- Stay resilient: Use cooldowns wisely to survive his most powerful phases.
Victory over Bael’Gar won’t only bring you satisfaction but also the chance to obtain some coveted Bael’gar loot. Items like the Lord of Flames’ Seal or the Incendic Bracers aren’t just trophies but also provide significant enhancements to your gear.
Keep focused, follow these strategies, and add another notch to your belt in the depths of Blackrock.
Emperor Dagran Thaurissan
Deep within the heart of Blackrock Depths, you’ll face the formidable challenge of Emperor Dagran Thaurissan, the final boss of this sprawling dungeon.
Understanding the emperor lore and Thaurissan’s history will be essential in preparing for this encounter. As the ruler of the Dark Iron dwarves, Thaurissan has a complex background filled with betrayal, power struggles, and a tragic romance that has greatly shaped the politics of the dwarven clans.
Thaurissan isn’t only powerful in his political influence but also in his combat abilities. He wields fiery spells that can decimate your party if you’re not careful.
To tackle this encounter, you’ll need to manage both the Emperor and his guards effectively. Focus on interrupting his devastating spells while dealing with the adds that he summons periodically.
Conclusion
As you wrap up your journey through the labyrinthine depths of Blackrock, remember: each boss presents unique challenges meant to test your mettle. Don’t let the complexity deter you. Imagine the thrill as you stand victorious over Emperor Thaurissan, the crowd’s roar echoing off the stone, your team basking in glory. With this guide, you’re well-equipped to conquer and claim your victories. Gear up, strategize, and plunge into the fray—glory awaits in every battle!
Check my other Articles about WoW!
